How to Vinyl Wrap Your Car: A Step-by-Step Guide
Vinyl wrapping has become increasingly popular for car enthusiasts looking to personalize their vehicles without committing to a permanent paint job. This versatile technique completely transforms your car’s appearance, offering a wide array of colors, textures, and finishes. Whether looking to protect your car’s original paint or make a bold statement on the road, vinyl wrapping provides an exciting avenue for creativity and expression.
This comprehensive guide will delve into the world of vinyl wrapping, providing a detailed, step-by-step process for those interested in undertaking this project themselves. We will explore the benefits of vinyl wrapping, discuss the best wrap colors for cars, and provide expert tips to ensure a professional-looking finish. If you’re ready to embark on your DIY car wrapping journey, read on to discover everything you need to know.
Pro Tip: Use high-quality tools and take your time for a professional finish.
Quick Guide: Vinyl Wrapping Your Car
- Prepare the Surface: Clean thoroughly using car shampoo and isopropyl alcohol. Remove accessories like mirrors and emblems.
- Measure and Plan: Measure sections to cut vinyl wrap pieces and plan your layout.
- Apply the Vinyl: Start with large sections, use a squeegee to smooth bubbles, and heat the vinyl for stretching.
- Trim and Seal: Trim excess vinyl carefully and seal edges with a heat gun to prevent lifting.
- Final Inspection: Inspect for imperfections and smooth out any remaining bubbles or wrinkles.
Important: Ensure you work in a clean, dust-free environment and follow temperature guidelines for best adhesion.
Key Benefits of Vinyl Wrapping Your Car

Why It Matters
Vinyl wrapping is a game-changer, outshining traditional paint jobs in style. Car enthusiasts and everyday drivers alike are drawn to its charm. Let’s dive into the road map of key benefits:
- Cost-Effective Customization: Vinyl wrapping is typically more affordable than a full paint job, allowing for significant savings while achieving a customized look.
- Non-Permanent Solution: Unlike paint, vinyl wraps can be removed without damaging the paintwork, allowing car owners to change their vehicle’s look as often as they like.
- Protection for Original Paint: Vinyl wraps act as a protective layer for your car’s original paint, shielding it from minor scratches, UV rays, and environmental elements.
- Wide Range of Options: Vinyl wraps offer an extensive selection of colors, finishes, and textures, providing endless possibilities for personalization.
- Quick Installation: Compared to a traditional paint job, which can take weeks, most vinyl wraps can be installed within a few days.
- Increased Resale Value: Protecting the original paintwork ensures that your car remains in good condition, which can enhance its resale value.
Step-by-Step Guide to DIY Car Wrapping
Step 1: Preparing Your Car for Vinyl Wrapping
Properly preparing your car before you begin the wrapping process is crucial to ensuring a smooth, professional finish.
1. Clean the Surface Thoroughly
- Use a high-quality car shampoo to remove dirt, grime, and grease.
- Pay special attention to edges, crevices, and difficult-to-reach areas to ensure proper adhesion.
- After washing, wipe the surface down with isopropyl alcohol to remove any remaining oils and contaminants.
2. Remove Obstacles
- Remove badges, trims, and accessories that might hinder the application process.
- Side mirrors, door handles, and emblems should be taken off to ensure seamless wrapping.
- Store these items safely to prevent damage.
3. Measure and Plan Your Wrap
- Measure each section of your car to determine the amount of vinyl wrap required.
- Plan the layout to minimize waste and ensure seamless coverage.
- Consider using masking tape to mark sections for easier alignment.
Step 2: Applying the Vinyl Wrap
1. Cut the Vinyl Wrap to Size
- Use your measurements to cut manageable sections of vinyl.
- Cut slightly larger pieces to allow for adjustments and easier application.
2. Position the Vinyl Wrap
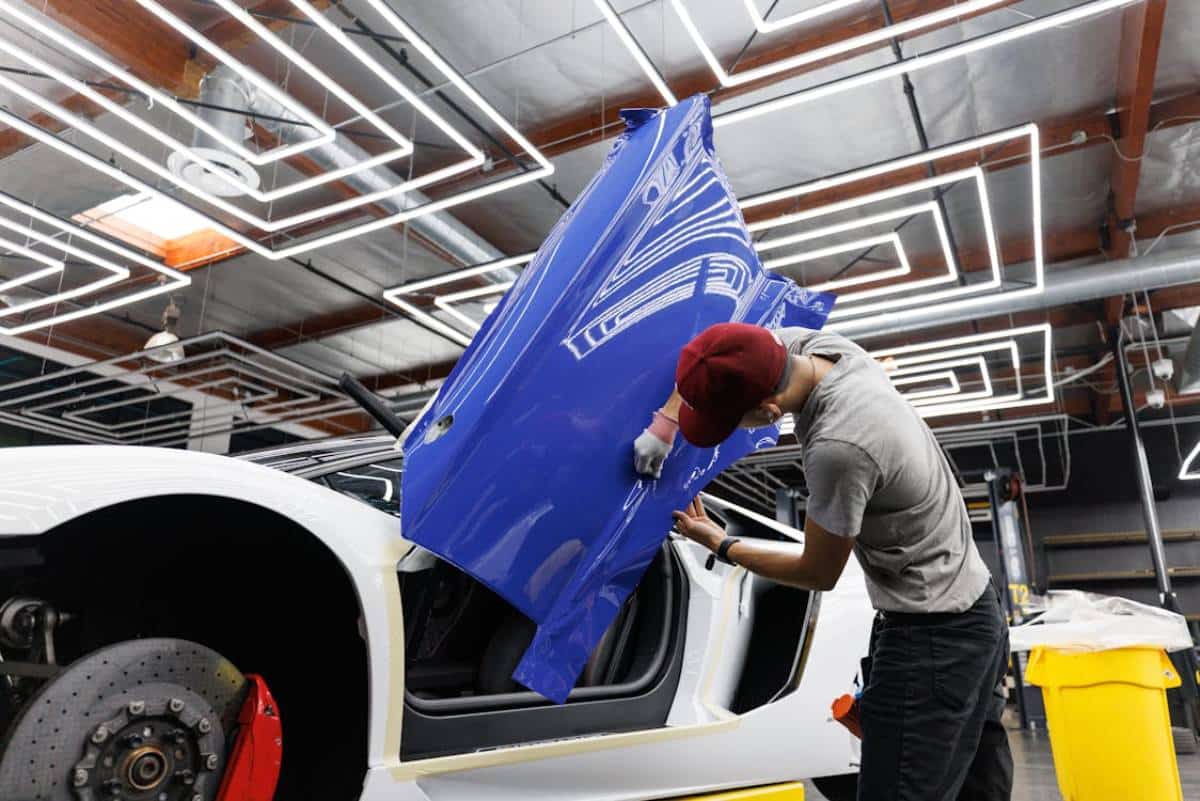
- Start with the largest sections first, such as the hood, roof, or doors.
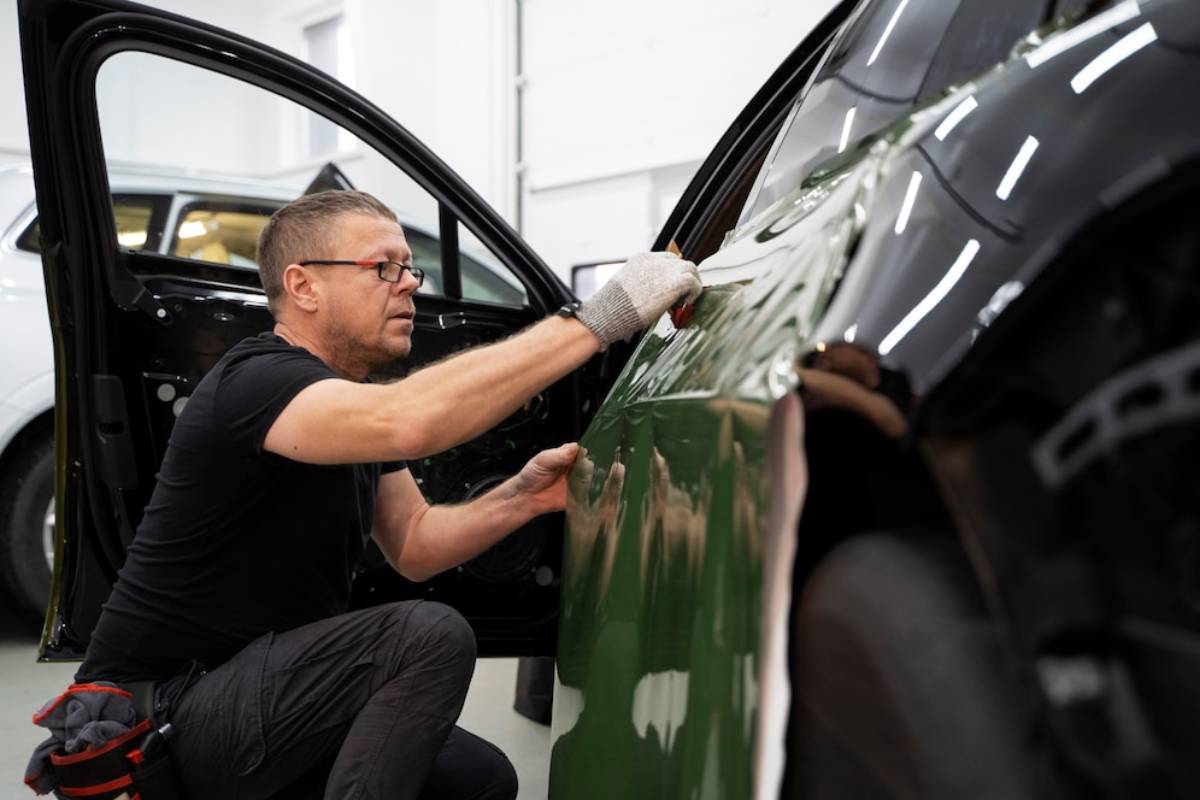
- Use a squeegee to smooth out air bubbles from the center outward.
- Make sure the wrap is aligned correctly before securing it permanently.
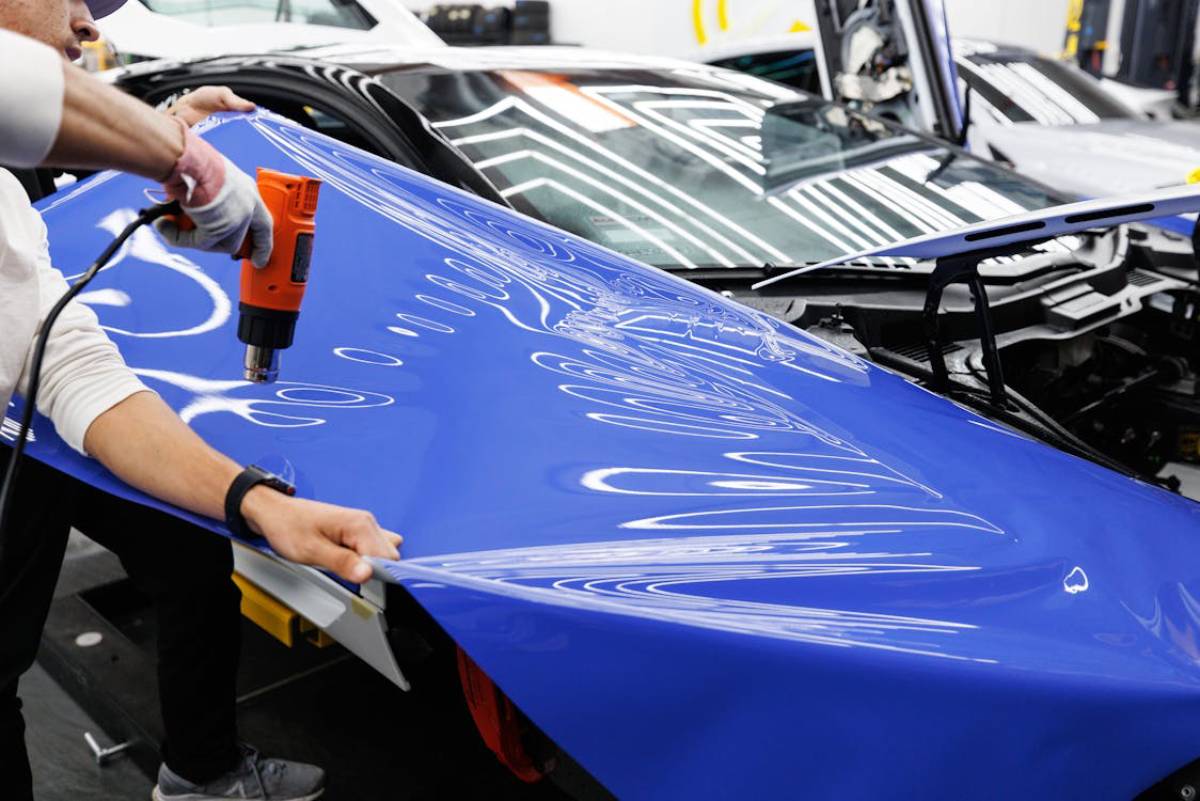
3. Heat and Stretch the Vinyl
- Use a heat gun to gently warm the vinyl, making it more pliable.
- Avoid overheating, as excessive heat can damage the material.
- Stretch the vinyl carefully around curves and edges for a seamless look.
4. Trim Excess Vinyl
- Use a sharp utility knife to trim excess material carefully.
- Follow the car’s edges precisely for a clean, professional finish.
Step 3: Sealing and Finishing
1. Seal the Edges Properly
- Warm the edges with a heat gun and press them down firmly.
- This step prevents peeling and lifting over time.
2. Inspect and Adjust
- Check for imperfections and use a squeegee to smooth any remaining bubbles or wrinkles.
- Reheat sections that require additional stretching or smoothing.
Additional Expert Tips & Common Mistakes to Avoid
Best Practices for DIY Car Wrapping
1. Choose the Right Environment
- Conduct the wrapping process in a clean, dust-free environment.
- Maintain an optimal temperature (between 68-77°F or 20-25°C) for proper adhesion.
2. Invest in Quality Tools
- Use high-quality squeegees, utility knives, and heat guns for a professional finish.
- A wrap glove can help smooth out edges without damaging the vinyl.
3. Practice Patience
- Take your time with each step to avoid errors.
- Step back and reassess if you encounter difficulties.
Common Mistakes to Avoid
1. Skipping the Cleaning Step
- Poor adhesion and an uneven finish can result from an unclean surface.
2. Overstretching the Vinyl
- Excessive stretching can cause the material to thin and tear, leading to durability issues.
3. Ignoring Temperature Guidelines
- Follow manufacturer recommendations for best adhesion results.
- Cold temperatures can make vinyl brittle, while extreme heat can warp it.
Advanced Insights & Expert Recommendations
Choosing the Best Wrap Colors for Cars
- Consider Your Car’s Design: Certain colors enhance vehicle lines and features better than others.
- Think About Maintenance: Darker colors show dirt and scratches more easily, while lighter shades are more forgiving.
- Stay True to Your Style: Choose a wrap color that reflects your personal taste.
Unique Industry Perspectives
- Businesses use vinyl wraps for branding and advertising, transforming vehicles into mobile billboards.
- Advancements in wrap technology continue to expand design possibilities.
Frequently Asked Questions (FAQs)
1. How long does a vinyl wrap last?
A professionally applied vinyl wrap can last between 5-7 years with proper care.
2. Can I wash my car after wrapping it?
Yes, but avoid high-pressure washes and automatic car washes with stiff brushes. Hand washing with a mild soap is recommended.
3. Will the vinyl wrap damage my original paint?
No, as long as the paint was in good condition before wrapping. In fact, wraps help protect the original paint.
4. Can I remove a vinyl wrap myself?
Yes, but it requires patience and heat application to prevent adhesive residue.
5. What is the cost of wrapping a car?
DIY vinyl wrapping can cost between $500-$2,000 depending on the material, whereas professional wraps range from $2,000-$5,000.
Personalize Your Car Today!

Embarking on a vinyl wrap adventure is like a paintbrush for your ride. Enjoy the perks of affordable customization and sturdy paint protection. With our comprehensive guide, you’ll craft a showroom-quality finish that breathes new life into your vehicle. Get ready to turn heads and rev up your style!
Take your time, invest in top-notch tools, and pick a wrap color that sings your style. Vinyl wrapping is a fun way to express yourself on the road. It’s great for both car lovers and first-time DIYers.
Ready to hit the road on your vinyl wrapping voyage? With the right mindset and a splash of patience, stunning results await that will turn heads and ignite conversations. So, what are you waiting for? Let the wrapping begin!