How to Paint Your Brake Calipers for a Custom Look
In the lively world of DIY car tweaks, painting your brake callipers stands out. It’s a cost-effective way to add style and personality to your ride. This guide helps you paint callipers like a pro without the high cost. We’ll explore the best high-heat paints for durability and flair. Plus, discover exciting calliper colour ideas to make your project shine.
Key Benefits of Painting Your Brake Calipers
Painting your brake callipers is more than just a cosmetic upgrade. It offers several benefits, making it a worthwhile project for any car enthusiast.
Enhancing Aesthetic Appeal
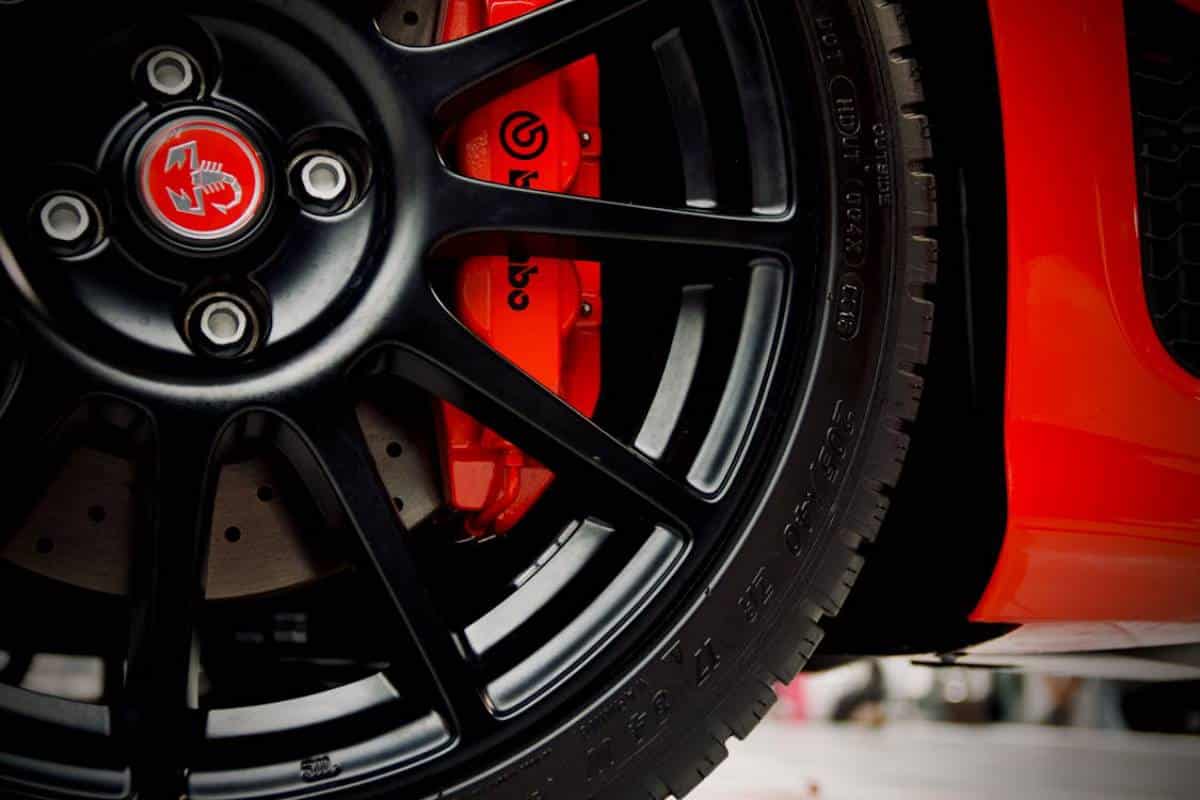
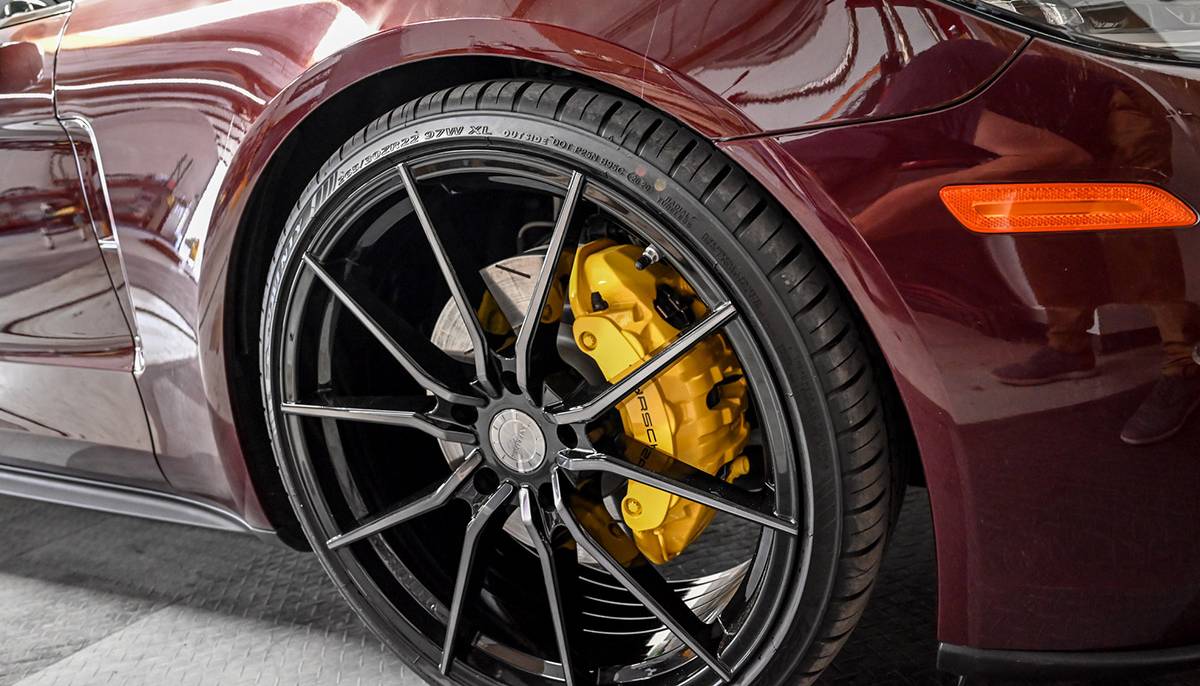
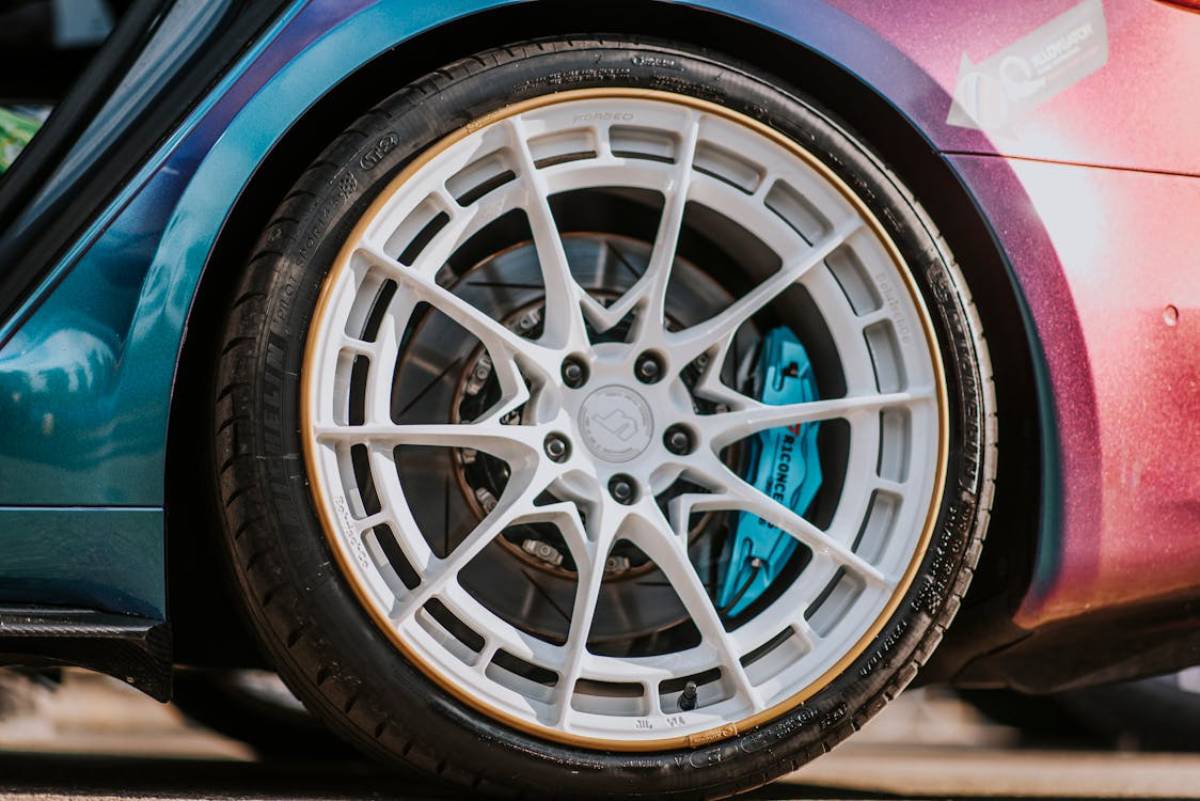
One of the primary reasons car owners paint their brake callipers is to improve their vehicle’s visual appeal. A vibrant calliper colour can make your wheels pop, giving your car a sporty and customised look. Choose a bold red, sleek black, or a unique colour. Painted callipers can really boost your vehicle’s look.
Protecting Your Calipers
Painting your callipers does more than look good. The high-heat paint protects them from rust, dust, and debris. This can help them last longer. It’s especially useful in harsh weather or areas with heavy road salt.
Increasing Resale Value
A well-maintained and visually appealing vehicle can fetch a higher resale value. Custom-painted callipers can be a selling point for potential buyers, demonstrating that the car has been cared for and customised with attention to detail. If you sell your vehicle, this small investment can pay off in the long run.
Step-by-Step Guide to DIY Brake Caliper Painting

Now that we’ve covered the benefits let’s dive into the step-by-step process of painting your brake calipers. This guide will ensure you achieve a professional-looking finish that lasts.
Materials Needed
Before you begin, gather the following materials:
- High-heat calliper paint (available in various colours)
- Brake cleaner
- Wire brush or sandpaper
- Masking tape
- Jack and Jack stands
- Lug wrench
- Paintbrush or spray gun (depending on your chosen method)
- Protective gloves and eyewear
Preparation
Proper preparation is key to achieving a flawless finish. Follow these steps:
1. Secure Your Vehicle
Begin by parking your car on a flat surface and using the brake. Use a jack to lift the vehicle and place it securely on jack stands. Remove the wheels using a lug wrench to expose the brake callipers.
2. Clean the Calipers
Thoroughly clean the callipers using a brake cleaner to remove dirt, grease, or debris. Use a wire brush or sandpaper to remove rust or old paint, ensuring a smooth surface for the new paint to adhere to.
3. Mask Off Surrounding Areas
Use masking tape to cover areas you don’t want to be painted, such as the brake pads, rotors, and surrounding components. This will ensure a clean and precise paint job.
Painting the Calipers
With preparation complete, it’s time to start painting:
1. Apply the Paint
Apply the high-heat calliper paint evenly across the calliper’s surface using a paintbrush or spray gun. If using a spray gun, maintain a consistent distance to avoid drips and ensure even coverage. Allow the first coat to dry before applying additional coats for full coverage.
2. Allow to Dry
Once you’ve achieved the desired coverage, allow the paint to dry completely. Depending on the paint used and environmental conditions, this may take several hours. Refer to the paint manufacturer’s instructions for specific drying times.
Reassemble and Finish
After the paint has dried, carefully remove the masking tape and reassemble the wheels. Lower the vehicle from the jack stands and admire your newly customised brake callipers.
Additional Expert Tips & Common Mistakes to Avoid
To ensure a successful DIY brake calliper painting project, consider these expert tips and avoid common pitfalls:
Expert Tips
- Choose a high-quality, high-heat calliper paint specifically designed for brake components. This ensures durability and resistance to heat and wear.
- Consider using a clear coat for added protection and a glossy finish.
- Plan your project on a dry, mild day to ensure optimal paint adhesion and drying conditions.
Common Mistakes to Avoid
- Skipping the cleaning and preparation steps can lead to poor paint adhesion and an uneven finish.
- Applying too much paint at once can result in drips and an unprofessional appearance. Opt for multiple thin coats instead.
- Failing to mask off surrounding areas can lead to unwanted paint splatters on other components.
Advanced Insights & Expert Recommendations

For those looking to take their brake calliper painting to the next level, consider these advanced insights:
Custom Designs
If you feel creative, consider adding custom designs or logos to your callipers. Stencils or decals can achieve this, allowing for a truly unique look.
Professional Finish
Consider using a spray gun instead of a paintbrush for a professional finish. This tool provides even coverage and a smooth finish, similar to what you see in a professional workshop.
Give Your Ride a Bold Finish with Painted Brake Calipers
Transform your ride with a vibrant DIY brake calliper paint job. This rewarding project adds flair while safeguarding your callipers. Follow our all-encompassing guide for that polished, professional finish. No matter your skills—whether you’re a car expert or a newbie—this journey is fun. It also saves you money while you customise your ride. Embrace creativity while enhancing your vehicle’s visual appeal—your wheels will thank you!
So, what are you waiting for? Gather your materials, choose your calliper colour, and start transforming your car today. Share your results with fellow car enthusiasts and inspire others to embark on their customisation journeys. Happy painting!