How to Install a Cold Air Intake for Better Engine Performance
In the realm of automotive aficionados, boosting engine performance reigns supreme. A cold air intake (CAI) system is an affordable upgrade that adds excitement. This upgrade is a great choice for both DIY beginners and experts. It offers clear improvements in power and efficiency.
This guide will show you how to install a cold air intake and explore its many benefits. It will also answer common questions like, “Does a CAI really boost horsepower?” and “Which cold air intakes steal the show?” Get ready to elevate your ride!
Key Benefits of Installing a Cold Air Intake
Before starting the installation, it is essential to understand why a cold air intake is a good investment for your car. The primary function of a cold air intake is to bring cooler air into the engine. Cooler air is denser, which means it contains more oxygen molecules. More oxygen in the combustion chamber leads to better combustion, which boosts power and efficiency.
Increased Horsepower
Car enthusiasts often ask, “Does a CAI boost horsepower?” The answer: Absolutely! A cold air intake ushers in more air, enhancing performance. It’s a performance juggernaut with a potential 5 to 20 HP horsepower increase. This boost comes from the engine’s newfound ability to burn fuel efficiently, fueled by extra oxygen.
Improved Throttle Response
A cold air intake can also improve throttle response. The engine receiving more air can respond more quickly to the driver’s input, making the car feel more responsive and lively. This is particularly beneficial for those who enjoy spirited driving or track days.
Enhanced Fuel Efficiency
While the primary focus of cold air intake is often on performance, it can also contribute to improved fuel efficiency. The engine burns fuel better with an efficient combustion process. This can lead to improved mileage in some driving conditions.
Cost-Effective Modification
A cold air intake is relatively inexpensive compared to other performance modifications. It gives a big performance boost. You don’t need many changes or tuning. This makes it perfect for budget-conscious users.
Step-by-Step Guide to Installing a Cold Air Intake

Now that we’ve uncovered the perks let’s explore installing a cold air intake. This guide will navigate the essential steps for success. However, remember to consult the unique instructions with your CAI kit. The installation process may change depending on your vehicle’s make and model. Make sure you’re tailored for a smooth ride!
Tools and Materials Needed
- Cold air intake kit (ensure it’s compatible with your vehicle)
- Screwdrivers (flathead and Phillips)
- Socket set
- Pliers
- Ratchet wrench
- Torque wrench
- Safety gloves
- Eye protection
Step 1: Prepare Your Workspace
Before starting the installation, ensure you have a clean and organised workspace. Park your vehicle on a flat surface, turn off the engine, and allow it to cool completely. Disconnect the battery to prevent any electrical mishaps during the installation.
Step 2: Remove the Stock Air Intake
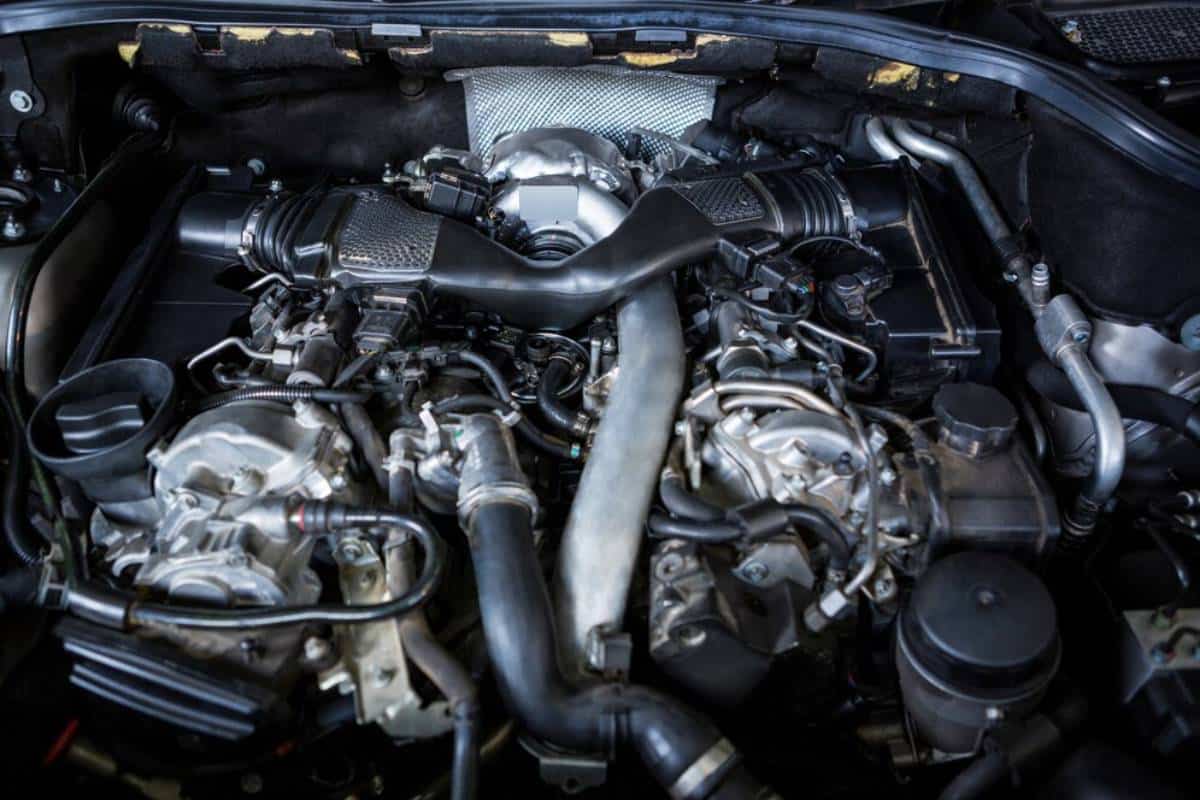
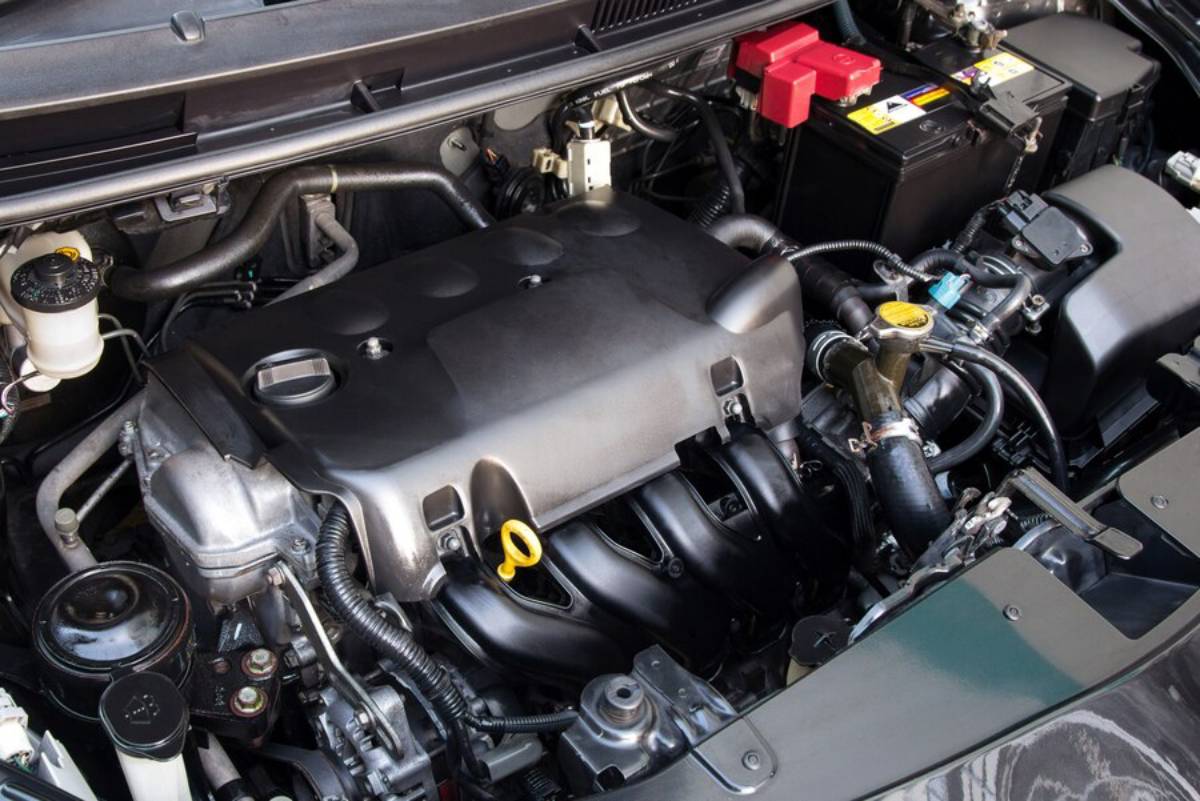
The first step in installing a cold air intake is to remove the stock air intake system. Start by removing the air filter cover and the air filter itself. Use a socket set to remove any bolts securing the air intake tubing. Gently unplug any sensors or hoses from the stock intake. Remember where they go for later reinstallation.
Step 3: Install the Cold Air Intake
With the stock system removed, installing the new cold air intake is time. Begin by attaching the new intake tubing to the throttle body. Secure it with the provided clamps, ensuring a snug fit. If your kit includes a heat shield, position it according to the instructions and secure it.
Next, install the air filter onto the end of the intake tubing. Ensure it’s positioned correctly and tightened securely. Reconnect any sensors or hoses that were disconnected during the removal process. Ensuring all connections are tight and secure to prevent air leaks is crucial.
Step 4: Double-Check Your Work
Before starting the engine, double-check all connections and fittings. Ensure that the intake is securely mounted and that there are no loose components. Reconnect the battery and start the engine. Listen for any unusual sounds or vibrations, which could indicate an issue with the installation.
Step 5: Test Drive
Once you’re satisfied with the installation, take your vehicle for a test drive. Pay attention to any changes in throttle response and engine performance. If everything is in order, you should notice improved power and responsiveness.
Additional Expert Tips & Common Mistakes to Avoid
Installing a cold air intake is simple, but watch for common mistakes. Here are some best practices to keep in mind.
Expert Tips
- Choose the Right Kit: Ensure the cold air intake kit is compatible with your vehicle’s make and model. Research the best cold air intakes available for your car to maximise performance gains.
- Regular Maintenance: Regularly check the air filter for dirt and debris after installation. A clean filter is crucial for maintaining performance gains.
- Ask an Expert: If you’re confused about the installation, ask a mechanic for help. They can provide guidance and ensure the installation is done correctly.
Common Mistakes to Avoid
- Ignoring Instructions: Always follow the instructions provided with your CAI kit. Skipping steps or improvising can lead to poor performance or damage.
- Over-Tightening Clamps: While securing clamps tightly is essential, over-tightening can damage components or cause air leaks.
- Neglecting Sensor Connections: Ensure all sensors are reconnected properly. A disconnected sensor can trigger error codes or affect engine performance.
Advanced Insights & Expert Recommendations

Heat Management
Heat management is crucial to maximising the performance of a cold air intake. Add a heat shield or thermal wrap to the intake tubing to minimise heat soak. This can help maintain cooler air temperatures and improve performance.
Tuning for Optimal Performance
A cold air intake can kick your performance into high gear. Yet, add a custom tune, and your gains will soar even higher. Think of a tune as the maestro, optimising the air-fuel ratio and ignition timing. With this symphony of enhancements, you can truly harness that increased airflow.
Monitoring Performance
Get a performance monitoring device. It tracks real-time data like air intake temperature, throttle response, and horsepower gains. This can help you fine-tune your setup and ensure you get the most out of your cold air intake.
Unlock Your Engine’s Potential with a Cold Air Intake Installation
Revamping your ride with a cold air intake is a DIY dream. This project reaps rewards and revs up your vehicle’s performance. Follow this guide to install with confidence and feel the horsepower surge. Enjoy improved throttle response and watch your fuel efficiency flourish.
Ready to rev up your car’s performance? Consider a cold air intake. It’s not just a boost in power; it’s an upgrade to your driving delight. Roll up your sleeves, grab your tools, and embark on this thrilling DIY adventure. Let’s turn your ride into a speedster on the open road!
Have you installed a cold air intake on your vehicle? Share your experiences and any additional tips in the comments below. We’d love to hear from you!